
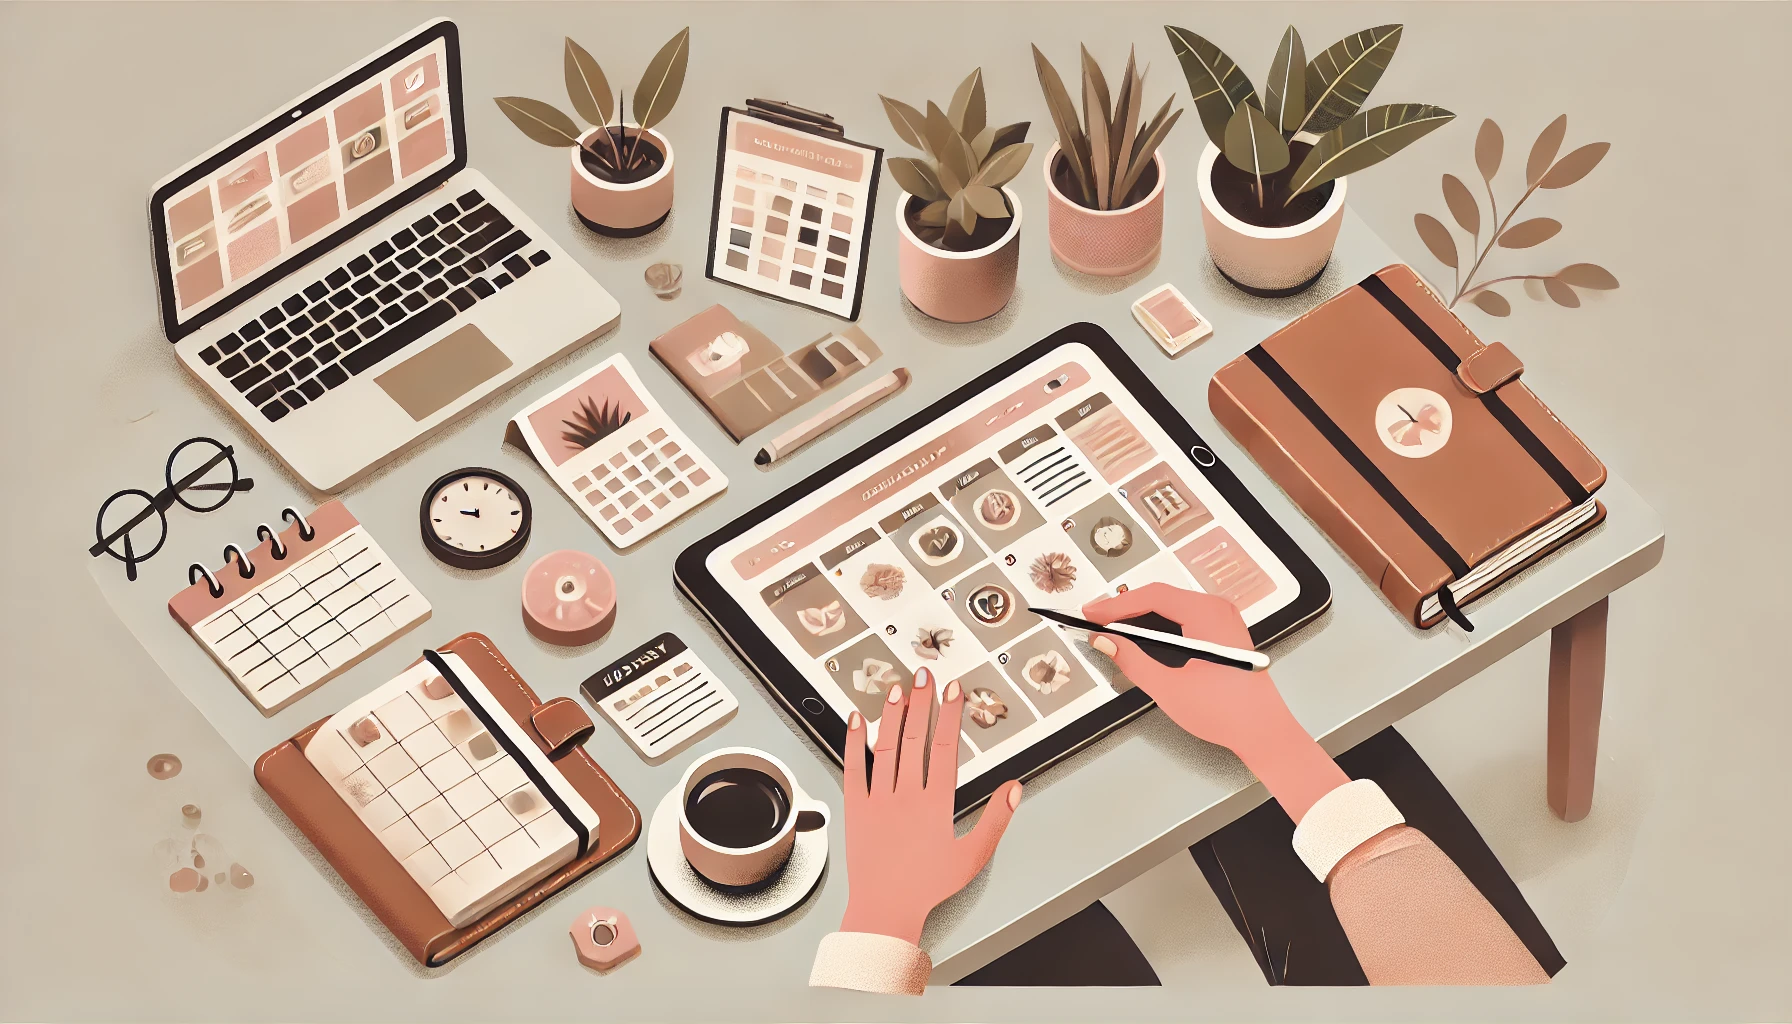
How to Get Started with Digital Planners: A Beginner’s Guide. Digital planners are revolutionizing the way we organize our lives, set goals, and boost productivity. They offer the flexibility to customize your planning experience and the convenience of having everything in one place. Whether you’re new to the world of digital planners or looking to switch from a traditional format, this beginner’s guide will help you get started with digital planners.

1. Understand the Benefits of Digital Planners
Before diving into the how-to, it’s essential to understand why digital planners might be the right choice for you:
Accessibility: Access your planner from any device, whether it’s a tablet, smartphone, or computer.
Eco-Friendly: Reduce paper usage and contribute to environmental sustainability.
Customization: Easily change layouts, colors, and designs to suit your preferences.
Multimedia Integration: Incorporate images, links, and audio notes seamlessly.
Sync and Backup: Sync across multiple devices and ensure your data is always backed up.
2. Choose the Right Digital Planner App
Selecting the right app is crucial for a smooth digital planning experience. Here are a few popular options:
GoodNotes: Great for handwriting enthusiasts, with extensive customization options.
Notability: Known for its audio recording feature, perfect for meetings and lectures.
OneNote: Offers robust organization features and integrates well with other Microsoft products.
Evernote: Excellent for note-taking and planning, with powerful search functionality.
3. Select a Design that Inspires You
One of the best aspects of digital planners is the variety of designs available. Choose a design that resonates with you and inspires productivity. Consider elements like:
Color Scheme: Neutral tones, pastel colors, or vibrant hues.
Layout: Vertical vs. horizontal layouts, time-blocking sections, or minimalist designs.
Themes: Floral patterns, geometric shapes, motivational quotes, etc.
4. Gather Your Digital Tools
To get started with digital planners, you’ll need a few basic tools:
Tablet or Smartphone: Ensure you have a device compatible with your chosen planner app.
Stylus: For those who prefer handwriting their notes and plans.
Cloud Storage: Services like Google Drive, iCloud, or Dropbox for easy access and backup.
Planner Templates: Purchase or download free digital planner templates that suit your needs.
5. Set Up Your Digital Planner
Once you’ve selected your design and gathered your tools, it’s time to set up your digital planner:
Import Templates: Upload your chosen templates into your planner app.
Create Sections: Organize your planner into sections like daily, weekly, monthly, and specialty pages.
Customize Layouts: Adjust the layouts to fit your workflow, adding pages as needed.
6. Start Planning
With your digital planner ready, it’s time to start planning:
Set Goals: Begin by setting your short-term and long-term goals.
Plan Daily and Weekly: Use your planner to schedule tasks, appointments, and deadlines.
Review and Adjust: Regularly review your planner to track your progress and make necessary adjustments.
7. Explore Advanced Features
Digital planners offer many advanced features that can enhance your planning experience:
Hyperlinks: Use hyperlinks to navigate easily between sections.
Multimedia Notes: Add images, videos, and audio notes to enrich your planner.
Reminders and Notifications: Set reminders to stay on top of important tasks and deadlines.
Google and Apple Calendar: Link your Calendar to your digital planner.
Conclusion
Getting started with digital planners is a straightforward process that can significantly enhance your productivity and organization. By choosing the right app, design, and tools, you can create a personalized planning system that works for you. Happy planning!
### Meta Description for Google